Are you looking to improve your golf game? Then you need to make sure your golf clubs are in top condition. Regular maintenance and service are crucial to ensuring that your clubs perform at their best. In this article, we will explore the key steps to properly servicing your golf clubs, including cleaning, inspecting, and making any necessary repairs. Whether you’re a beginner or an experienced golfer, this guide will help you get the most out of your equipment and improve your game. So, let’s get started and learn how to keep your golf clubs in tip-top shape!
Preparing Your Golf Clubs for Service
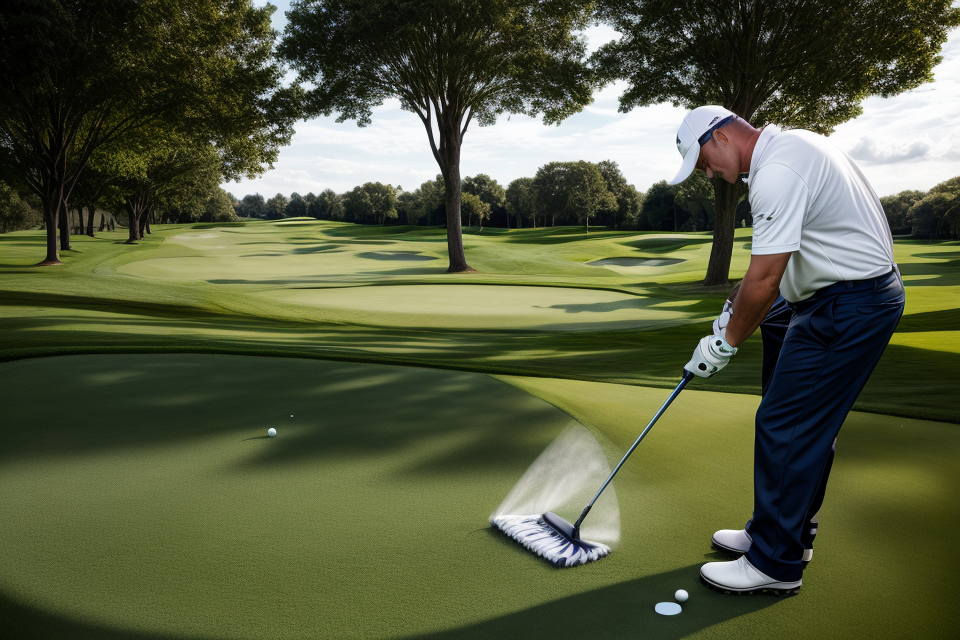
Cleaning Your Clubs
When it comes to maintaining the optimal performance of your golf clubs, cleaning them regularly is an essential step. Here are some details on how to clean your golf clubs effectively:
Removing Dirt and Debris
The first step in cleaning your golf clubs is to remove any dirt and debris that may have accumulated on them. This can be done by wiping down the clubs with a damp cloth or sponge. If there is stubborn dirt or grime, you may need to use a brush to gently scrub the clubs.
Using the Right Cleaning Solutions
When it comes to cleaning your golf clubs, it’s important to use the right cleaning solutions. Avoid using household cleaners or harsh chemicals, as these can damage the clubs and their finish. Instead, use a specialized golf club cleaner or a mixture of warm water and mild soap.
Cleaning the Grip and Clubhead
In addition to the shaft and clubs, it’s also important to clean the grip and clubhead. The grip should be wiped down with a damp cloth to remove any dirt or sweat. The clubhead should be cleaned with a soft brush to remove any grass or debris that may have accumulated.
By following these steps, you can ensure that your golf clubs are clean and ready to perform at their best.
Inspecting Your Clubs
Before beginning the process of servicing your golf clubs, it is important to inspect them thoroughly to identify any potential issues that may need to be addressed. Here are some key areas to focus on when inspecting your clubs:
- Checking for wear and tear: One of the most important aspects of inspecting your golf clubs is to check for wear and tear. This includes looking for signs of damage to the clubhead, shaft, and grip. Check for any scratches, dents, or other visible signs of wear on the clubhead, as well as any fraying or discoloration on the grip.
- Identifying any damaged components: In addition to checking for wear and tear, it is important to identify any damaged components on your golf clubs. This includes looking for any cracks or breaks in the shaft, as well as any loose or damaged screws or other hardware.
- Assessing the overall condition of your clubs: Finally, it is important to assess the overall condition of your golf clubs. This includes checking for any signs of rust or corrosion, as well as ensuring that all of the club’s moving parts are functioning properly.
By carefully inspecting your golf clubs, you can identify any potential issues that may need to be addressed in order to ensure optimal performance on the course.
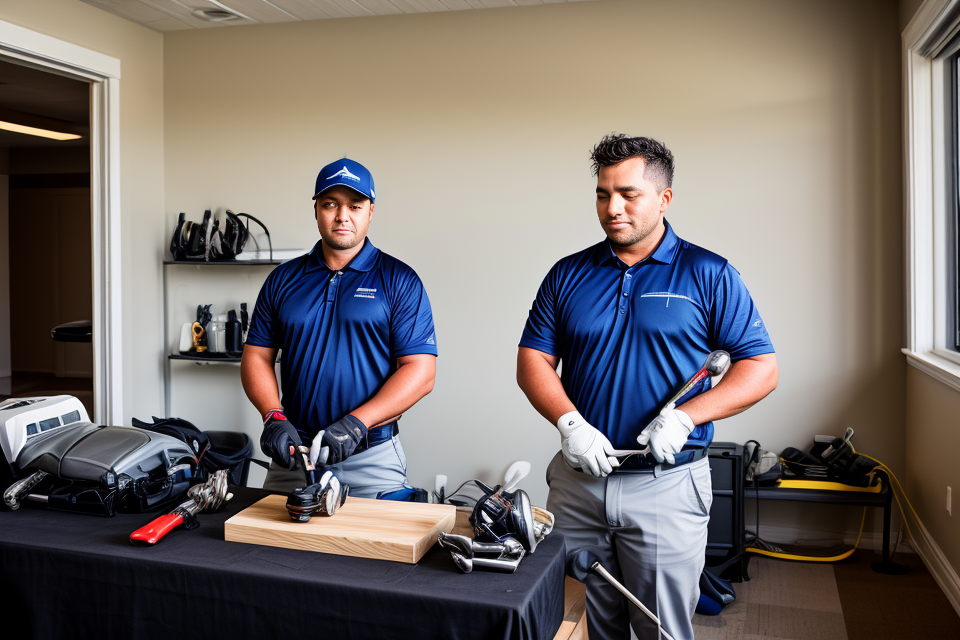
Tools and Equipment Needed for Service
Golf club repair kit
When it comes to servicing your golf clubs, having the right tools and equipment is crucial. One of the most important things you’ll need is a golf club repair kit. This kit will contain all the necessary tools and replacement parts you’ll need to keep your clubs in top condition.
A typical golf club repair kit should include the following items:
- Golf club shaft puller: This tool is used to remove the golf club shaft from the golf club head. It works by applying pressure to the shaft and pulling it out of the head.
- Golf club head covers: These are protective covers that go over the golf club heads. They help prevent damage to the club heads and keep them clean.
- Golf club grip tape: This is a sticky tape that is used to wrap around the golf club grip. It helps improve the grip on the club and prevent slipping.
- Golf club shaft sleeve: This is a plastic or rubber sleeve that goes over the golf club shaft. It helps protect the shaft from damage and keeps it clean.
- Golf club wrench: This tool is used to tighten or loosen the golf club head. It works by applying pressure to the wrench and turning it clockwise or counterclockwise.
- Golf club replacement parts: These are the various parts that can be replaced on the golf club, such as the shaft, grip, or head. Having replacement parts on hand will allow you to fix any issues that may arise with your clubs.
Overall, having a golf club repair kit is essential for anyone who wants to keep their golf clubs in top condition. With the right tools and replacement parts, you’ll be able to fix any issues that may arise and ensure that your clubs are performing at their best.
Additional tools
When it comes to properly servicing your golf clubs, there are a few additional tools that you may need to have on hand. These tools will help you to make any necessary repairs or adjustments to your clubs, ensuring that they are in optimal condition for your next round of golf.
Sandpaper
Sandpaper is a useful tool for smoothing out any rough spots on your golf clubs. It can be used to remove any burrs or sharp edges that may have formed during normal use, and can also be used to smooth out any scratches or marks on the club’s surface. When using sandpaper, it’s important to use a fine-grit paper for smaller areas, and a coarser-grit paper for larger areas.
Sanding block
A sanding block is a great tool for smoothing out larger areas of your golf clubs. It’s particularly useful for sanding down the edges of your clubhead, which can become dull or worn over time. To use a sanding block, simply apply some sandpaper to the block and use it to smooth out the area you’re working on.
Wrench
A wrench is a necessary tool for making adjustments to the clubhead or shaft of your golf clubs. Depending on the type of club you have, you may need to use a wrench to adjust the loft or lie angle, or to tighten or loosen the clubhead or shaft. Be sure to use the correct size wrench for the job, as using the wrong size can damage your club.
Pliers
Pliers are a versatile tool that can be used for a variety of tasks when servicing your golf clubs. They can be used to tighten or loosen screws, adjust the grip of your club, or even to remove and replace the clubhead or shaft. Be sure to use the correct type of pliers for the job, as using the wrong type can damage your club.
Allen wrenches
Allen wrenches are a specific type of wrench that is used to tighten or loosen screws with hexagonal heads. They are commonly used in the adjustment of golf club components such as the clubhead or shaft. Be sure to use the correct size Allen wrench for the screws you are working with, as using the wrong size can damage your club.
Screwdriver
A screwdriver is a necessary tool for making adjustments to the screws on your golf clubs. Depending on the type of club you have, you may need to use a screwdriver to adjust the loft or lie angle, or to tighten or loosen the clubhead or shaft. Be sure to use the correct size screwdriver for the screws you are working with, as using the wrong size can damage your club.
Basic Golf Club Repairs
Changing the Grip
When it comes to improving the performance of your golf clubs, one of the most straightforward and effective repairs you can make is changing the grip. A worn or ill-fitting grip can negatively impact your swing, causing you to lose control and accuracy. By replacing your grip, you can improve your control and consistency, leading to better shots and lower scores.
Here’s how to change the grip on your golf clubs:
- Remove the old grip: To remove the old grip, you’ll need to use a grip remover tool. This tool will help you to carefully pry the grip off the shaft without damaging it. Begin by inserting the tool between the grip and the shaft, then twist it back and forth until the grip begins to loosen. Once the grip is loose, you can carefully pull it off the shaft.
- Install a new grip: To install a new grip, start by slipping the new grip over the end of the shaft. Make sure that it’s aligned properly and that there are no wrinkles or bubbles in the tape. Then, use your hands to wrap the tape around the shaft, working your way up towards the handle. Once you reach the handle, use your fingers to smooth out any wrinkles or bubbles, making sure that the tape is evenly applied.
- Check for proper fit and comfort: Once the new grip is installed, take a few practice swings to make sure that it feels comfortable and that you have a good grip on the club. If the grip feels too loose or too tight, you may need to adjust it by adding or removing tape. You should also check to make sure that the grip is aligned properly with the shaft, as this can affect your swing.
By following these steps, you can ensure that your golf clubs are properly serviced and ready to perform at their best. A new grip can make a big difference in your game, so be sure to change it regularly to keep your clubs in top condition.
Re-Shafting the Club
Re-shafting a golf club is a common repair that can significantly improve the performance of your clubs. It is a process that involves removing the old shaft and installing a new one. This can be done by a professional golfer or a specialist at a golf store.
Removing the old shaft
The first step in re-shafting a golf club is to remove the old shaft. This can be done using a shaft puller, which is a special tool designed to remove the shaft from the clubhead. The puller works by applying pressure to the shaft and pulling it out of the clubhead.
It is important to use caution when removing the old shaft to avoid damaging the clubhead or the shaft. The puller should be applied evenly and steadily to avoid any sudden movements that could cause damage.
Installing a new shaft
Once the old shaft has been removed, the next step is to install the new shaft. This is typically done using a shaft fitting machine, which is a special tool that measures the flex and weight of the new shaft to ensure it is properly matched to the golfer’s swing.
The new shaft should be inserted into the clubhead and secured in place using a shaft band or sleeve. It is important to ensure that the new shaft is properly aligned with the clubhead and that it is properly balanced.
Ensuring proper alignment and balance
After the new shaft has been installed, it is important to ensure that it is properly aligned with the clubhead. This can be done by using a shaft alignment tool, which is a special tool that helps to ensure that the shaft is parallel to the ground.
It is also important to ensure that the new shaft is properly balanced. This can be done by using a shaft balancer, which is a special tool that helps to ensure that the shaft is evenly balanced and that it is properly matched to the golfer’s swing.
Overall, re-shafting a golf club is a process that requires careful attention to detail to ensure that the new shaft is properly installed and aligned with the clubhead. It is important to use the right tools and to follow the proper procedures to ensure that the golf club is properly serviced for optimal performance.
Replacing the Clubhead
Replacing the clubhead is a crucial aspect of maintaining optimal performance in your golf clubs. The clubhead is responsible for generating speed and power in your shots, and it is also subject to wear and tear over time. Replacing the clubhead when it becomes worn or damaged can improve the overall performance of your golf clubs.
To replace the clubhead, follow these steps:
- Remove the old clubhead: The first step in replacing the clubhead is to remove the old one. This can be done using a wrench or a screwdriver, depending on the type of clubhead.
- Inspect the shaft: Before installing the new clubhead, it is important to inspect the shaft for any damage or wear. If the shaft is damaged, it may need to be replaced as well.
- Install the new clubhead: Once the old clubhead is removed and the shaft is inspected, the new clubhead can be installed. This may require the use of a wrench or other tool, depending on the type of clubhead.
- Ensure proper weight distribution and balance: Proper weight distribution and balance are crucial for optimal performance in your golf clubs. When installing the new clubhead, make sure that it is properly balanced and that the weight is distributed evenly.
By following these steps, you can properly replace the clubhead in your golf clubs and ensure optimal performance on the course.
Advanced Golf Club Repairs
Replacing the Grip and Cord
Removing the old grip and cord
Before installing a new grip and cord, it is essential to remove the old ones. Over time, grips and cords can wear out, become loose, or slip, which can negatively affect the golfer’s performance. To remove the old grip and cord, follow these steps:
- Begin by removing the clubhead cover if it is not already removed.
- Use a grip wrench or a screwdriver to loosen the grip tightener screw.
- Carefully pull the grip away from the shaft, taking care not to damage the finish.
- Remove the cord by gently pulling it from the clubhead.
Installing a new grip and cord
Installing a new grip and cord is a relatively simple process that can be done at home with the right tools. Follow these steps to install a new grip and cord:
- Select a grip and cord that matches your golf club’s specifications. It is important to ensure that the new grip and cord are compatible with your club.
- Apply a small amount of lubricant, such as silicone spray or rubbing alcohol, to the shaft. This will help the new grip and cord slide onto the shaft more easily.
- Place the new grip onto the shaft, making sure it is aligned correctly.
- Tighten the grip tightener screw with a grip wrench or screwdriver until the grip is secure.
- Install the new cord by gently feeding it through the clubhead and securing it in place.
Ensuring proper fit and comfort
A properly fitted grip and cord are essential for a comfortable and effective golf swing. When installing a new grip and cord, it is important to ensure that they fit and feel comfortable. Here are some tips to keep in mind:
- Ensure that the grip is positioned correctly on the shaft, with the brand logo facing towards the golfer’s right hand.
- Check that the cord is the correct length and that it is not too tight or too loose.
- Take a few practice swings to ensure that the grip and cord feel comfortable and secure.
By following these steps, you can ensure that your golf clubs are properly serviced and ready for optimal performance on the golf course.
Replacing the Shaft
Replacing the shaft of your golf club is a critical step in maintaining optimal performance. The shaft is a crucial component of the club that transmits the power of your swing to the ball. Over time, the shaft may become damaged or worn, which can affect the club’s performance. Here’s how to replace the shaft in your golf club:
- Removing the old shaft
The first step in replacing the shaft is to remove the old one. To do this, you will need to disassemble the clubhead. Start by removing the grip and then carefully remove the clubhead from the shaft. Once the clubhead is removed, you can unscrew the shaft from the clubhead.
- Installing a new shaft
Once you have removed the old shaft, it’s time to install the new one. Start by inserting the new shaft into the clubhead, ensuring that it is securely seated. Then, screw the shaft into place using the same torque settings as the original shaft. It’s important to use the correct torque settings to ensure that the shaft is properly secured and that the clubhead is properly aligned.
- Ensuring proper alignment and balance
After installing the new shaft, it’s important to ensure that the clubhead is properly aligned and balanced. Use a shaft alignment tool to check that the shaft is straight and that the clubhead is square to the target. If the clubhead is not properly aligned, you may need to adjust the hosel or neck of the club to ensure that it is straight.
It’s also important to ensure that the clubhead is balanced correctly. A balanced clubhead will provide better control and accuracy during your swing. You can use a swing weight scale to measure the balance of your clubhead and make any necessary adjustments.
Overall, replacing the shaft in your golf club is a critical step in maintaining optimal performance. By following these steps, you can ensure that your club is properly aligned and balanced, providing better control and accuracy during your swing.
Replacing the clubhead is a more advanced repair task that requires some specialized tools and knowledge. If your golf club’s clubhead is damaged or worn out, replacing it can greatly improve the performance of your golf club. Here are the steps to follow when replacing the clubhead:
Removing the old clubhead
- Begin by removing the grip from the shaft.
- Use a wrench to loosen the screws that hold the clubhead in place.
- Carefully remove the old clubhead from the shaft.
Installing a new clubhead
- Make sure the new clubhead is compatible with your shaft and is the correct size and weight for your swing.
- Apply some lubricant to the threads of the new clubhead to make it easier to install.
- Use the wrench to tighten the screws, making sure they are evenly tightened and not too tight.
- Use a measurement tool to ensure that the clubhead is properly aligned and balanced.
Ensuring proper weight distribution and balance
- Check the weight distribution of the clubhead, making sure that it is evenly balanced.
- Adjust the weight of the clubhead as needed, using weights or shaft inserts.
- Recheck the alignment and balance of the clubhead to ensure optimal performance.
Remember that replacing the clubhead is an advanced repair task and should only be attempted by experienced golfers or professionals. If you are unsure about any aspect of the process, it is best to seek the advice of a professional golf club repair service.
Storing Your Golf Clubs
Proper Storage Techniques
Properly storing your golf clubs is essential to ensure they remain in good condition and maintain optimal performance. Here are some key techniques to follow:
- Store your clubs in a dry, cool place:
- Golf clubs should be stored in a location that is free from moisture and excessive heat. This will help prevent rusting and corrosion of the clubs’ metal components, such as the clubhead and shaft.
- Ideally, the storage area should have a consistent temperature and low humidity levels. This will help maintain the integrity of the clubs’ materials, such as the golf grip and shaft.
- Keep your clubs away from direct sunlight:
- Direct sunlight can cause the golf club components to degrade over time, leading to reduced performance and potential damage.
- To prevent this, store your clubs in a location that is out of direct sunlight, such as a closet or a golf bag storage case.
- Use a golf club bag or storage case:
- Golf club bags or storage cases are designed to protect your clubs from scratches, dents, and other forms of damage.
- These bags or cases also provide a convenient way to organize your clubs and keep them together in one place.
- It is recommended to use a golf club bag or storage case that has cushioning or padding to protect the clubs from impact and vibration.
By following these proper storage techniques, you can help ensure that your golf clubs remain in good condition and continue to perform at their best on the golf course.
Maintaining the Condition of Your Clubs
Properly maintaining the condition of your golf clubs is crucial to ensure optimal performance on the golf course. Here are some tips to help you keep your clubs in good shape:
- Regularly cleaning and inspecting your clubs
Regular cleaning and inspection of your golf clubs is essential to maintain their performance and extend their lifespan. Dirt, grass, and other debris can accumulate on the clubhead, shaft, and grip, which can affect the club’s performance and lead to damage over time. To clean your clubs, use a soft cloth or brush to remove any debris, and then wipe the clubs down with a damp cloth. For deeper cleaning, you can use a specialized golf club cleaner or take them to a professional cleaner.
- Addressing any issues promptly
It’s important to inspect your golf clubs regularly for any signs of wear or damage, such as worn grooves, cracks, or loosened screws. If you notice any issues, address them promptly to prevent further damage and ensure optimal performance. For example, if you notice that the grip on your club is starting to come loose, you should tighten it or replace it as soon as possible.
- Protecting your clubs from damage during transportation and storage
When transporting and storing your golf clubs, it’s important to protect them from damage to ensure they remain in good condition. One way to do this is to invest in a golf club bag or case that provides adequate protection for your clubs. This can help prevent scratches, dents, and other types of damage that can affect the performance of your clubs. Additionally, it’s important to store your clubs in a dry, cool place to prevent rust and corrosion.
FAQs
1. What is included in a typical golf club service?
A typical golf club service includes cleaning, inspecting, and repairing or replacing any worn or damaged parts of the club. This may include the club head, shaft, grips, and other components. The service may also include reshaping the clubs to the golfer’s specifications and ensuring that the clubs are properly balanced.
2. How often should I have my golf clubs serviced?
It is recommended to have your golf clubs serviced at least once a year, or more frequently if you play regularly. This will help to ensure that your clubs are in good condition and performing at their best. If you notice any changes in the performance of your clubs, such as decreased distance or accuracy, it may be time to have them serviced.
3. Can I service my own golf clubs?
It is possible to service your own golf clubs, but it can be a time-consuming and difficult process. If you are not experienced with golf club repair, it is recommended to have your clubs serviced by a professional. A professional will have the necessary tools and expertise to properly service your clubs and ensure that they are performing at their best.
4. How much does it cost to have my golf clubs serviced?
The cost of having your golf clubs serviced can vary depending on the type of service required and the location where the service is being performed. It is best to contact a golf club repair professional for a quote on the cost of service.
5. How long will it take to have my golf clubs serviced?
The time it takes to have your golf clubs serviced can vary depending on the type of service required and the location where the service is being performed. It is best to contact a golf club repair professional for an estimate on the time it will take to service your clubs.
6. Can you service golf clubs that are not made by the major brands?
Yes, it is possible to service golf clubs that are not made by the major brands. However, it may be more difficult to find replacement parts for clubs that are not made by well-known brands. It is best to contact a golf club repair professional to discuss the specific needs of your clubs.
7. Will having my golf clubs serviced improve my game?
Having your golf clubs serviced can help to improve your game by ensuring that your clubs are in good condition and performing at their best. If your clubs are not properly balanced or do not have the correct loft, it can affect your accuracy and distance. Having your clubs serviced can help to ensure that they are properly calibrated for your swing and can help you to improve your game.